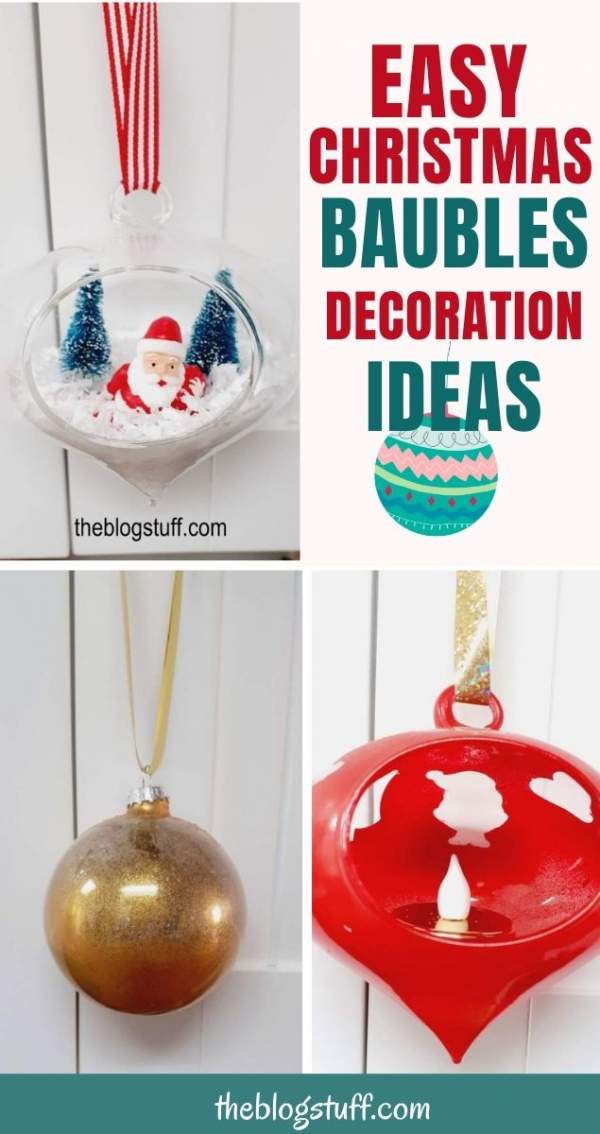
I love getting creative during the holidays, and one of my favorite projects is decorating Christmas baubles.
If you feel crafty and want easy ideas to fill and decorate clear Christmas ornaments, like balls or baubles, follow these step-by-step tutorials to have them ready in time for the festive season.
From clear Christmas ornament ideas to filled ornaments DIY, there are many options to add a personal touch to your holiday decor.
Let’s dive into some easy and cute bauble decorating ideas!
Please note that this post contains affiliate links. It means that if you buy through my links I will receive a small compensation at no extra cost to you.
Ways To Fill Clear Christmas Ornaments
If you want to make baubles for the tree, make sure to remove all dust before you fill them. Before you start gather the supplies you need for each project.
There are 3 types of clear ornaments you can buy:
- Classic clear Christmas baubles that open at the top.
- Clear fillable snap-on Christmas balls.
- Clear baubles with a middle opening.
How To Fill Christmas Baubles From The Top
Filling Christmas baubles from the top is more difficult to do because they have a narrow opening.
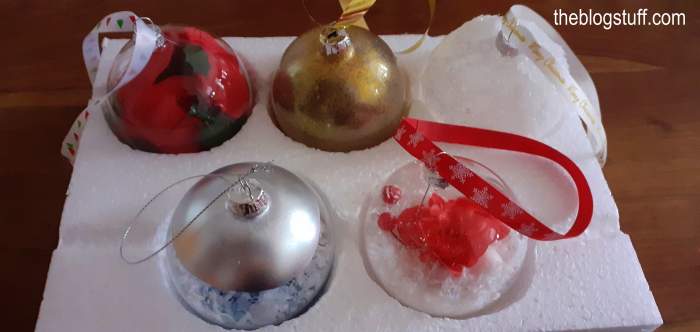
Luckily, there are a few tips you can use to fill your bauble from the top without the risk of spilling the glitter all over your floor!
- The most practical thing is using a small funnel which comes really handy if you are filling your baubles with a liquid.
- You can also use a small spoon and pour slowly through the opening at an angle, making sure to keep your hand as close as possible to the opening.
- Place some paper on either side of the opening and then sprinkle or pour glitter inside until it is full.
6 Ideas to Fill Christmas Baubles From The Top
1. With Glitter
One of the most fun ways to fill your own clear Christmas baubles is to use glitter! You can choose whatever color or colors to fill your ornament with.
You only need a small amount of glitter so one small bottle will go a very long way.
How do you get the glitter to stick inside an ornament?
To make the glitter stick to the inside of the ball it is necessary to use a liquid sealing agent like polyacrylic or mop n glow.
Some people also use hardwood floor polish or hairspray. Since I didn’t have any of those,
I used spray glue. Just spray inside the bauble, making sure it reaches everywhere.
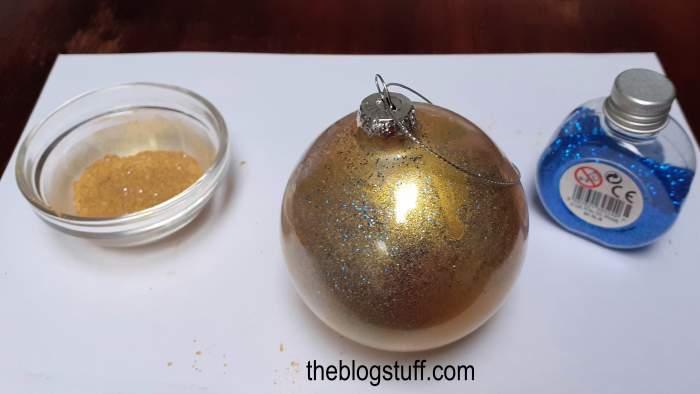
In the image below I’m using a paper funnel that I made myself to fill the bauble with glitter.
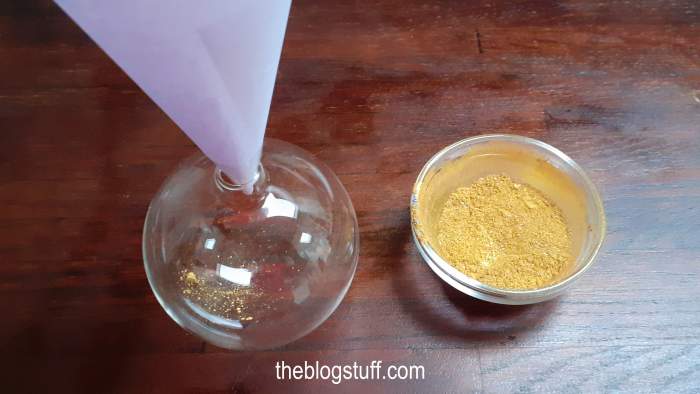
I have used gold mica powder and blue glitter to fill this bauble. If you have trouble reaching the top of the bauble with the spray glue (like I did), make a flexible brush with a straw and the head of a small paintbrush.
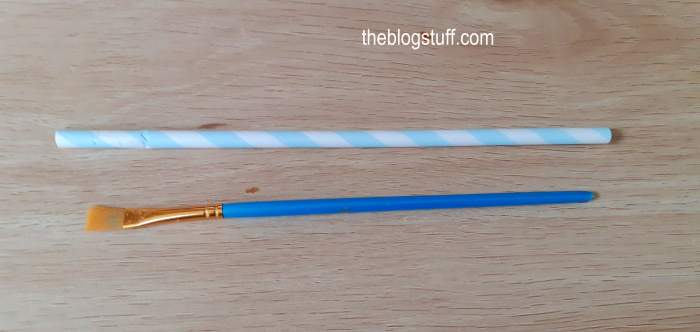
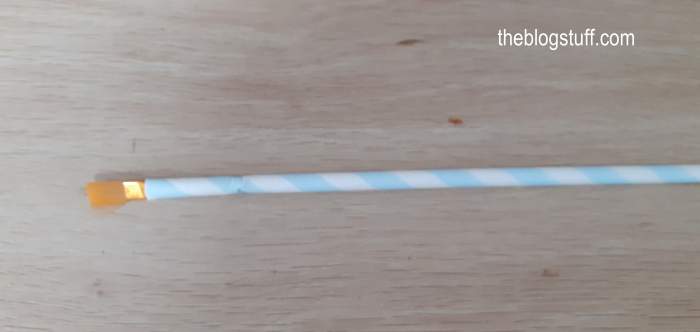
- Then pour the glitter inside the bauble using a funnel. You can mix the glitter together before pouring it inside the ball or do one glitter at a time.
- Once you have finished pouring the glitter, close the opening with your hands and shake the bauble to coat the inside.
Using a liquid sealing agent like Polycrylic
- To glitter the inside of a clear Christmas ornament, simply pour a tiny bit of the liquid agent directly into the ornament.
- You can also pour a little into a container and then pour it into the ornament using a funnel.
- Slowly swirl the liquid around being sure to coat all parts of the ornament.
- Turn the ornament upside down and let all the excess drain out for a couple minutes.
- Once the ornament is no longer dripping, it is time for the glitter.
- The easiest way to do the glitter is to use a funnel or to fold a piece of cardstock in half and pour a little bit of glitter onto it.
- Slowly pour the glitter into the bauble and rotate the ornament to completely coat the inside.
- Once you have coated the inside with the glitter, dump the excess glitter back onto the cardstock.
- A golden Christmas ribbon will complete the look.
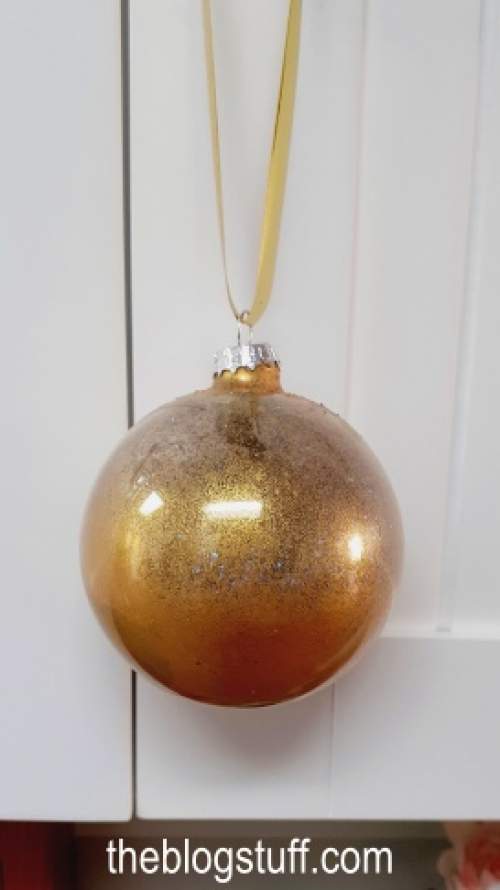
You can either use the same glitter again for another ornament or pour it back into the glitter container.
The cardstock will allow for extra easy cleanup of the glitter too so you don’t end up with a glittery floor!
2. With Faux Rose Petals
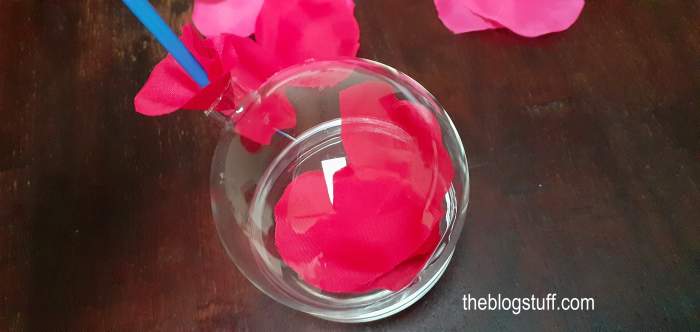
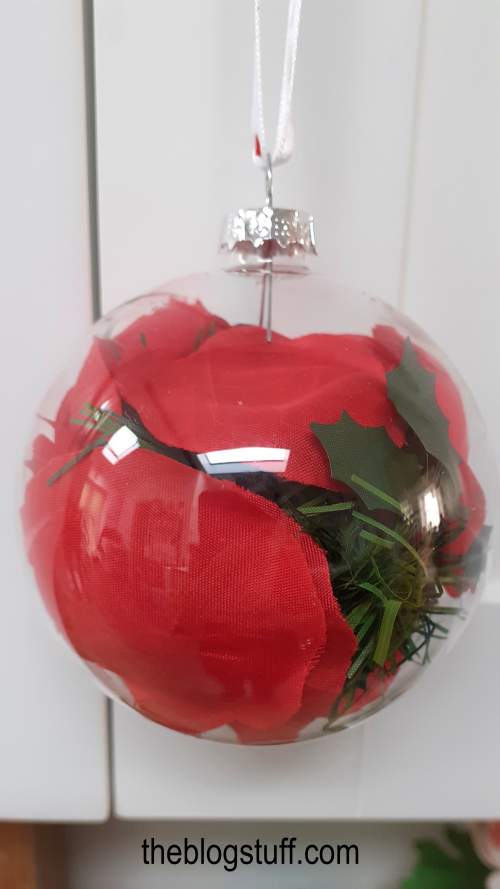
Very easy to do. Just push the fake rose petals inside the bauble with a paintbrush.
You can also add some greenery like fake leaves, pine, or a small piece of garland. Put the cap back and add a nice ribbon.
3. With Cake Sprinkles And Snow
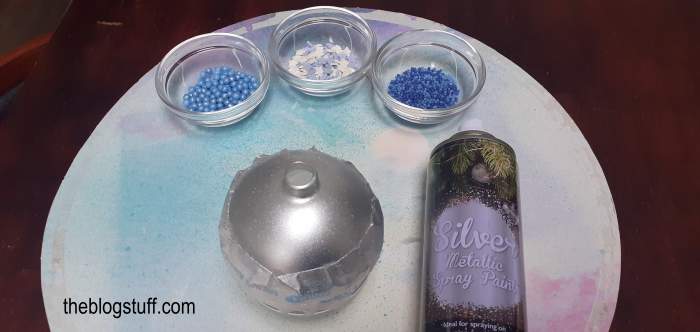
- Cover the bauble with masking or painter’s tape to make this Christmas bauble, leaving the top uncovered.
- Spray the top area with silver spray paint or any other color you wish.
- After the paint has dried, remove the tape.
- Now fill in the ball with different types of cake sprinkles and add artificial snow.
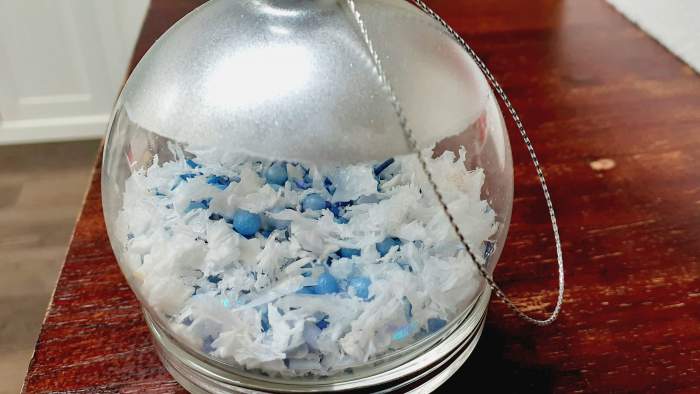
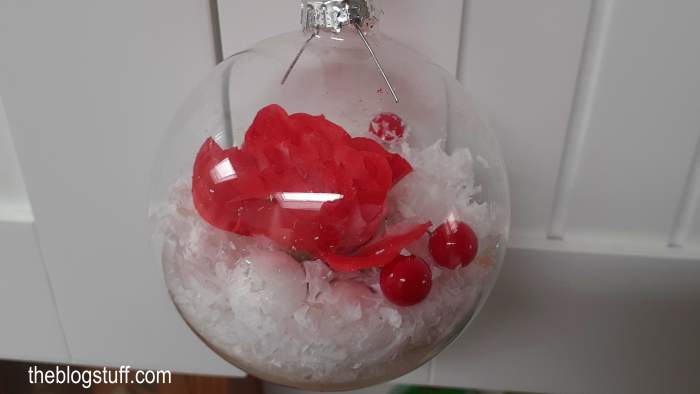
4. With Faux Flowers
- Fill the middle area of the bauble with fake snow.
- Pour also a few scattered faux berries.
- Insert a faux flower of your choice through the small bauble opening.
- Simple but cute!
5. With pompoms
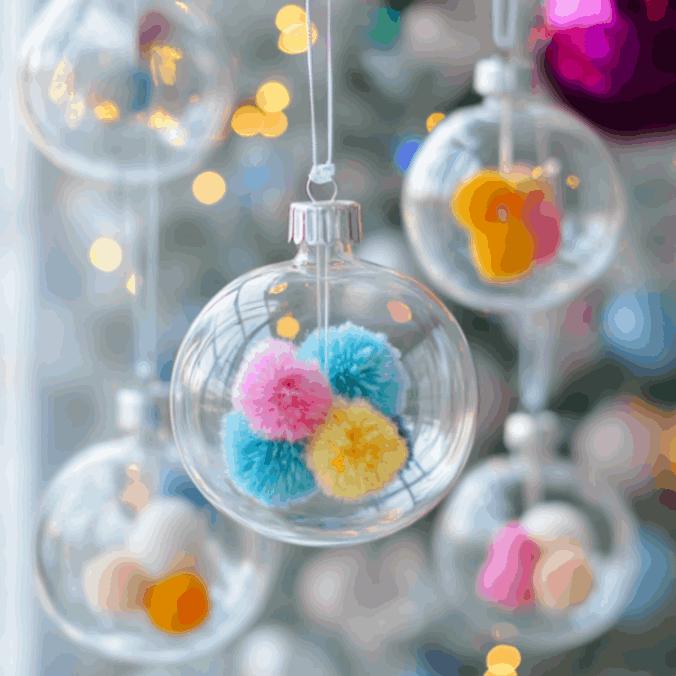
Another easy way to fill clear Christmas ornaments is with pompoms.
- Remove the top of the clear bauble so you can fill it with decorations.
- Grab your pompoms in various colors and sizes.
- Gently place the pompoms inside the bauble until it’s filled with a nice mix of colors.
- Put the top of the bauble back on to secure the pompoms inside.
- Hang the bauble on your tree using the attached string or hook.
6. Use Bath Salts or Glitter
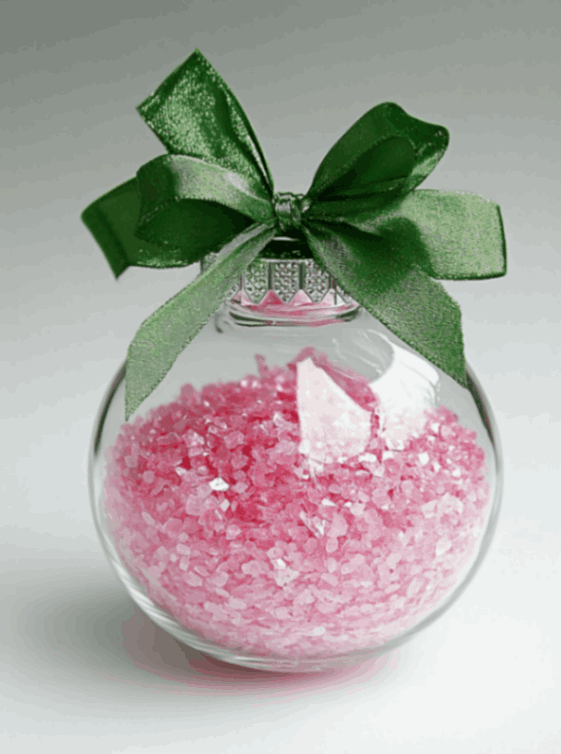
A cute and colorful Christmas clear ball that you can decorate with bath salts or glitter.
- Remove the top of the clear bauble so you have an open space to fill.
- Carefully pour in the decorative filling (such as bath salts, glitter, crystals, or any small festive item) until it reaches the desired level.
- Tap the bauble lightly to evenly distribute the contents inside.
- Secure the top back onto the bauble once it’s filled to your liking.
- Add a ribbon or bow for decoration if desired, then it’s ready to be hung on your tree!
How To Fill Baubles That Open In Half
Below you will find 3 ways to fill clear ornaments that snap in half.
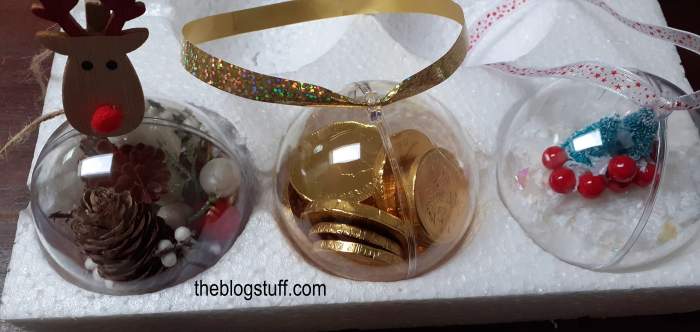
1. Rustic Bauble
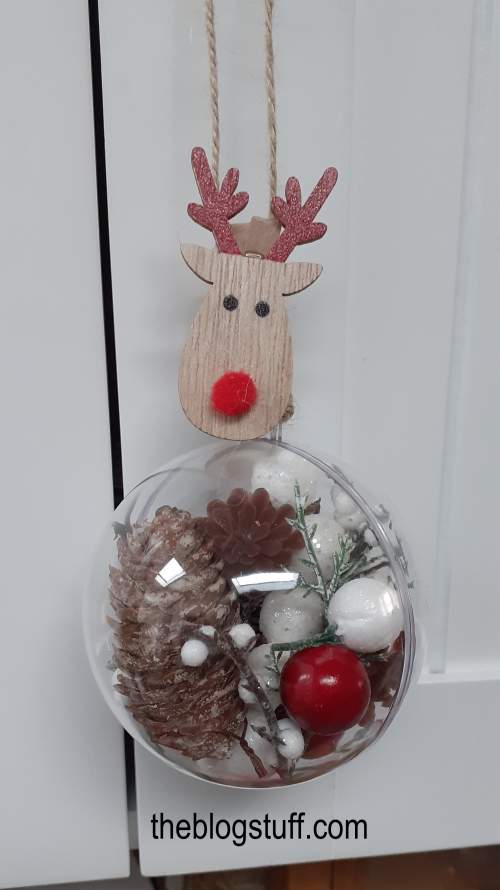
- Open it in half and place small pinecones, faux berries, dry branches or flowers, and greenery to fill this bauble.
- Placing a wooden reindeer tag on top of the bauble will add a rustic touch.
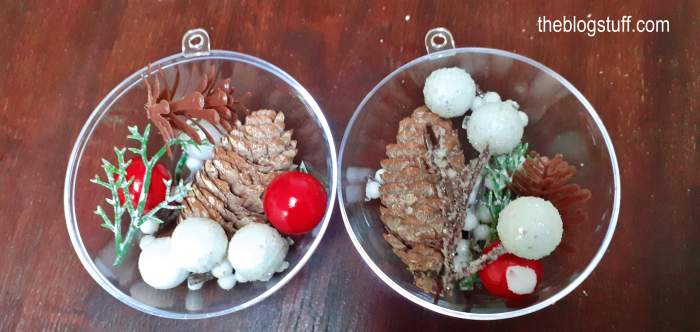
Hang it from a piece of natural twine string.
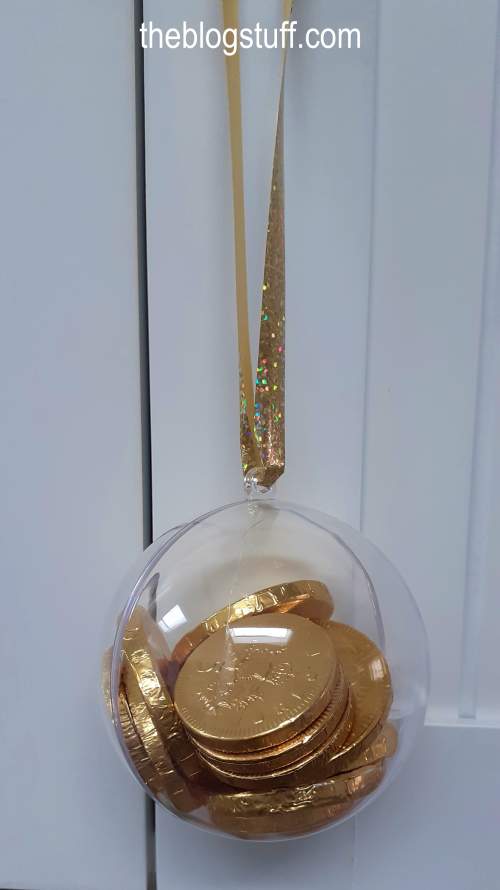
2. With Wrapped Chocolates
- Super easy to do. Just open the balls in half and fill them with wrapped chocolates.
- Put the two halves together and use a matching ribbon to hang the bauble.
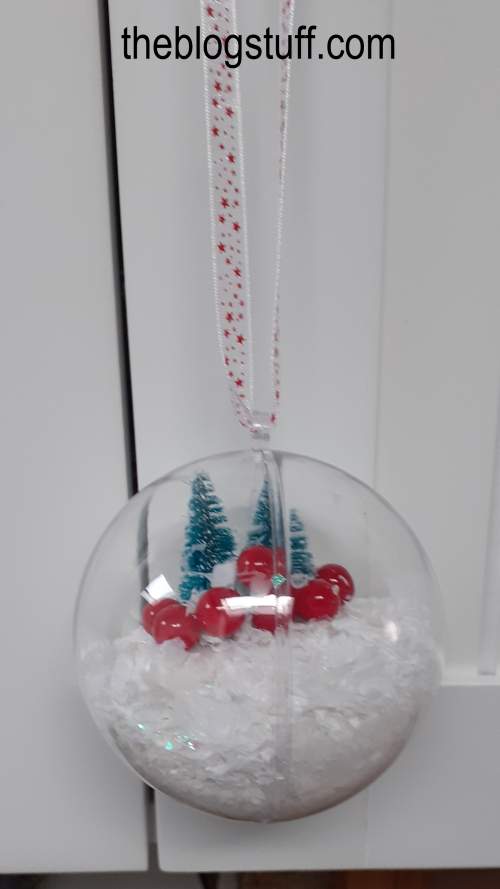
3. With Christmas Trees and Faux Berries
Here is an easy and cute DIY Christmas bauble you can make in no time.
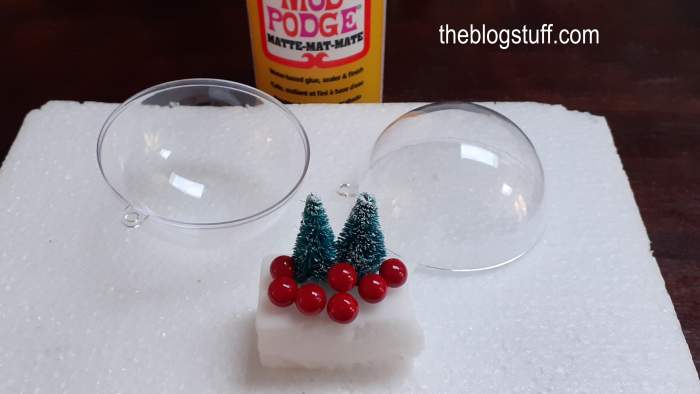
You need:
- clear Christmas bauble that opens in half
- Mod Podge or strong glue
- miniature Christmas trees
- faux berries
- a small piece of magic eraser or styrofoam
Directions:
- Since these baubles open in half is a little bit tricky to place the magic eraser piece.
- First, create your Christmas scene by sticking the trees and berries on top of the magic eraser or styrofoam.
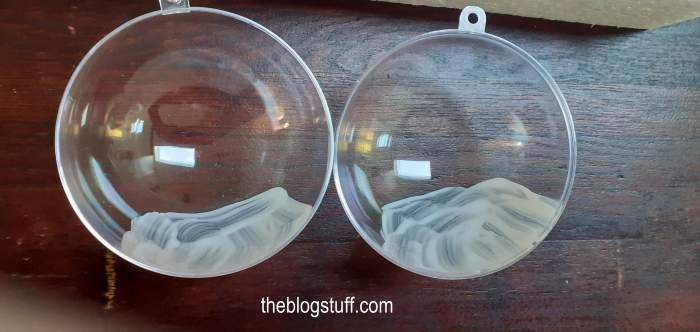
- Next, cover part of each half of the bauble (lower middle) with Mod Podge or any other strong glue you have at home.
- Cover the bottom of the foam you are using with glue too.
- Lastly, stick the foam to the bauble holding it in place with your fingers until is well glued.
- Add a handful of faux snow in each half of the ball.
- Put the two halves together.
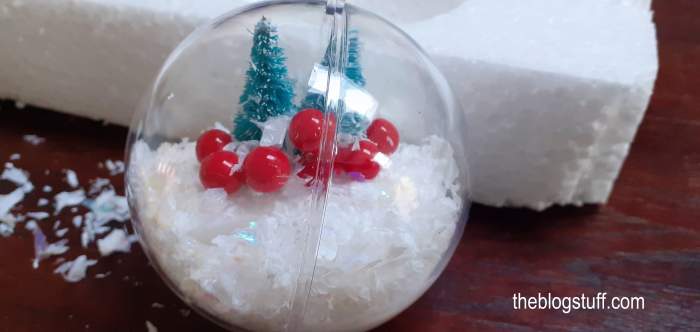
Tie a Christmas ribbon at the top.
RELATED READING: Easy DIY home decoration crafts
Ideas to Fill Christmas Baubles With A Middle Opening
There are many ways to decorate Christmas baubles.
Below you will find 5 ideas to decorate open Christmas baubles.
Copy the scene or create your own with the materials you have available.
Being creative is the key!
Start with the item itself once you have decided on what you want to put inside the ornament and what you want it to look like.
Use a small dot of super glue or hot glue and start adhering the items to the bottom of the ornament.
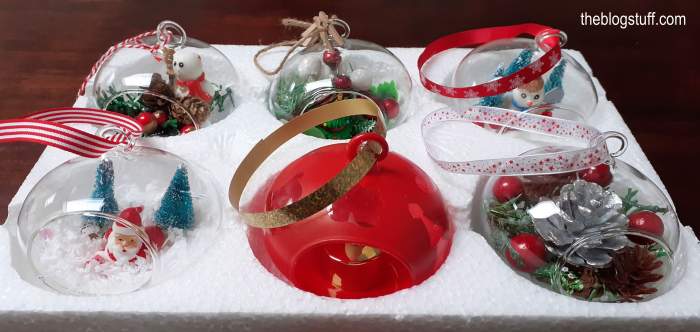
For this type of Christmas bauble, you will need miniature Christmas ornaments.
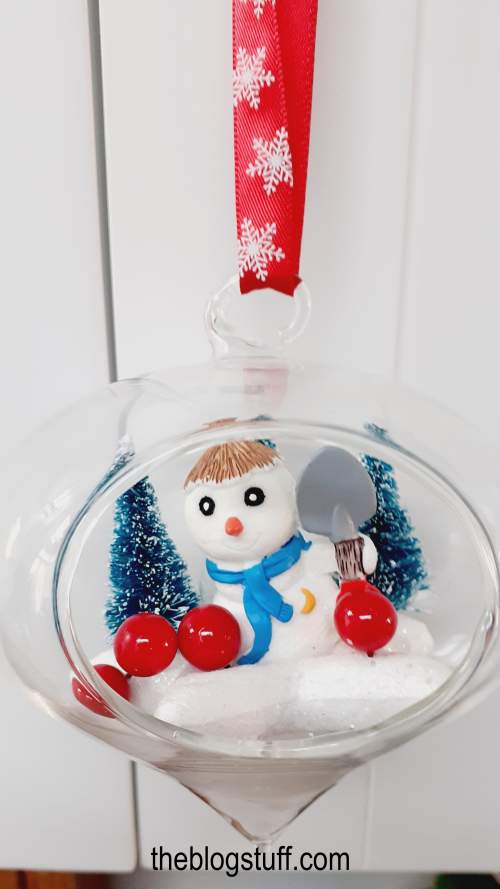
1. Miniature Snow Man Ball Decor
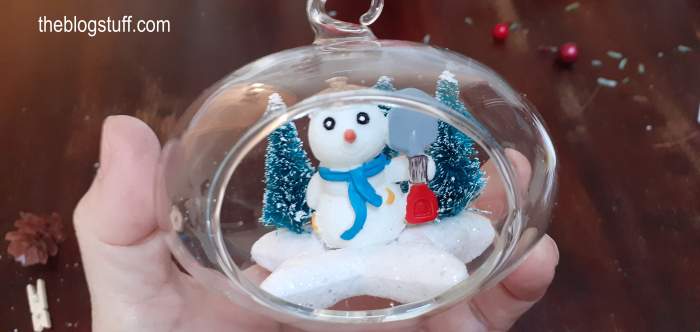
- For this one, I used a styrofoam star to insert the miniature Christmas trees and faux berries. Also, a strong glue to stick the snowman.
- Add any decorations you have to create the Christmas scene you want.
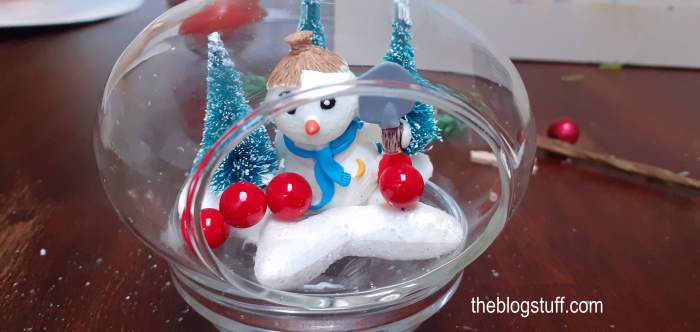
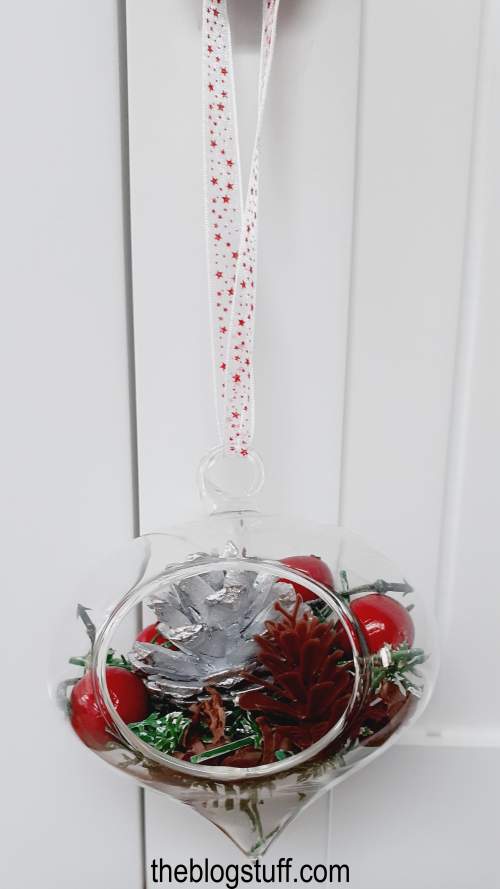
2. Miniature Pinecones
To fill this bauble I have used miniature pinecones, some greenery, and faux berries. Easy and simple!
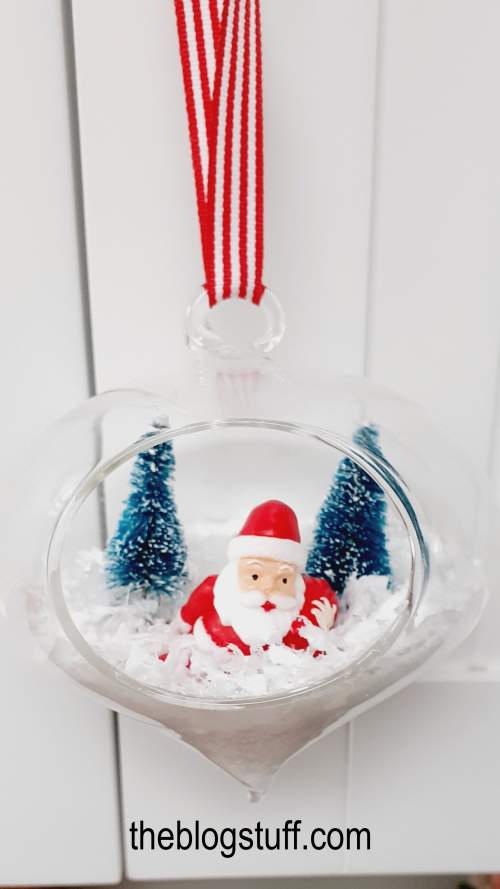
3. Miniature Father Christmas Bauble Decor
A miniature Father Christmas, faux Christmas trees, and artificial snow are all you need to fill in this clear bauble.
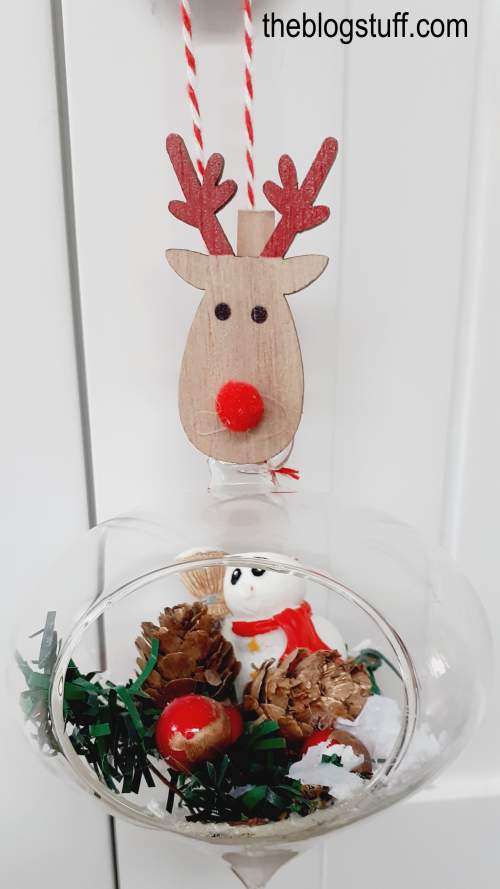
4. DIY Christmas Bauble Rustic Decor
- This bauble has a rustic look. All you need is a few pinecones, greenery, a miniature snowman, a bit of faux snow, and berries.
- A rustic reindeer tag and red ribbon finish the Christmas scene.
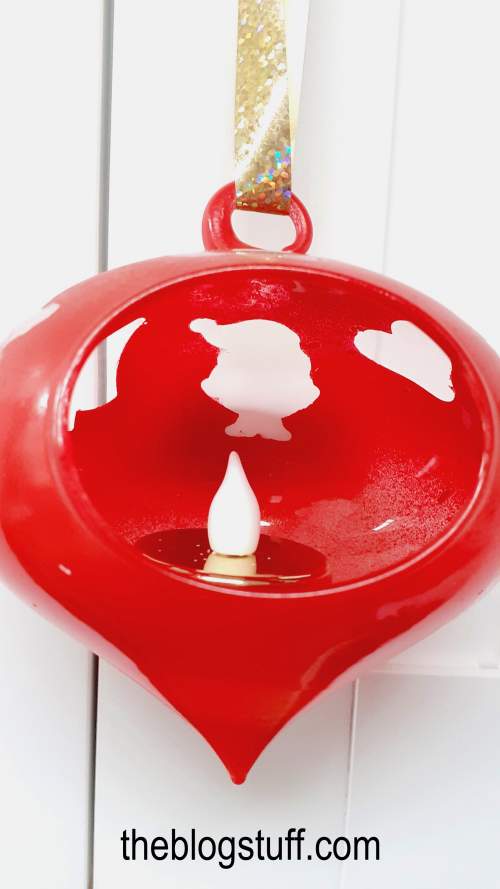
5. Use Paint
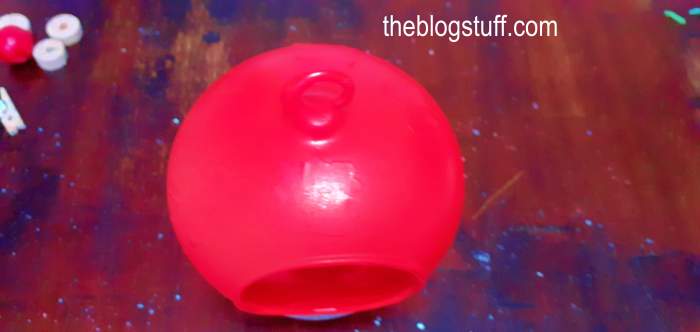
You can choose to paint the inside or the outside of your Christmas ball. On this occasion, I painted the bauble’s exterior red.
You need:
Steps:
- Protect the surface you are going to work on.
- Place a few Christmas stickers around the top of the bauble. This step is optional but very cute.
- Cover the whole bauble with red spray paint. Make sure to do this step outside or in a well-ventilated area.
- Let it dry completely.
- Remove the stickers. Use tweezers or the tip of a toothpick if necessary.
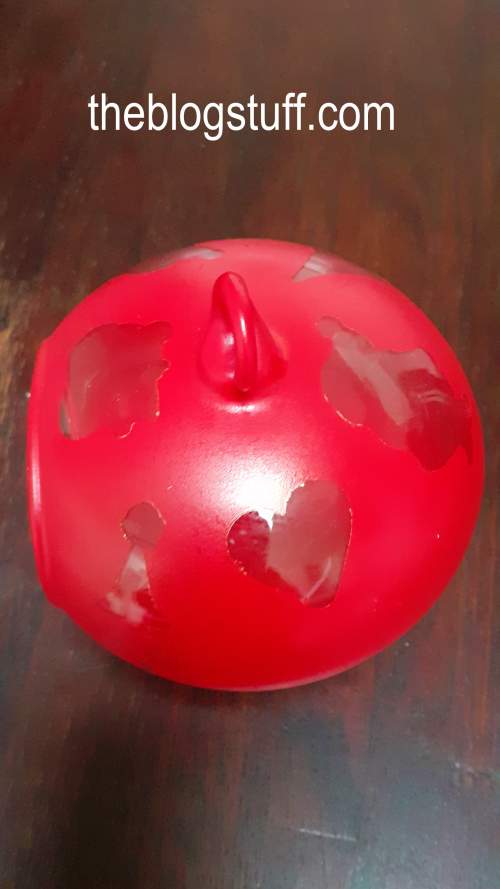
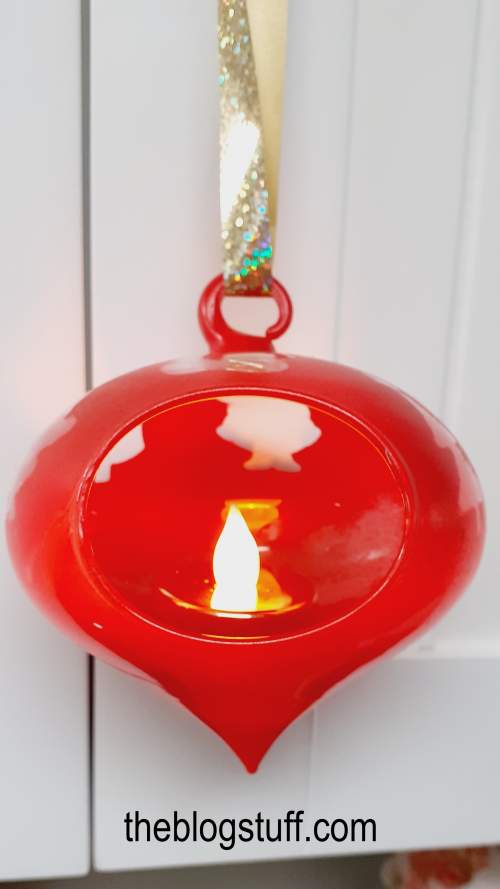
Place a faux tea light candle in the middle of the bauble and light it on. It looks beautiful at night.
Other Cute Ways to Decorate Christmas Balls
This method works by covering the baubles with paint or other decorative materials.
1. Chalkboard Paint
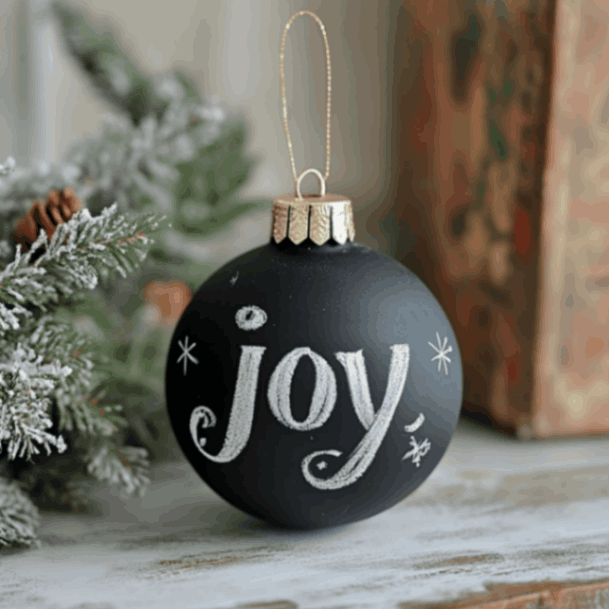
- Remove the top of the bauble to make painting easier and to avoid getting paint on it.
- Apply a coat of chalkboard paint evenly over the surface of the bauble. Hold the bauble by the top or bottom while you paint it. You may need to do two coats to ensure full coverage.
- Let the paint dry completely. Place the bauble in a secure spot to avoid smudging. Wait at least a few hours or follow the drying instructions on your chalkboard paint.
- Reattach the top of the bauble once the paint is fully dry.
- Write or draw your design on the bauble using white or colored chalk. In this case, you can write the word “joy” or any holiday message you like. If you make a mistake, you can simply erase it with a damp cloth and start over!
- Add a ribbon or string to the top of the bauble for hanging, and it’s ready to display on your tree.
2. Epsom Salts
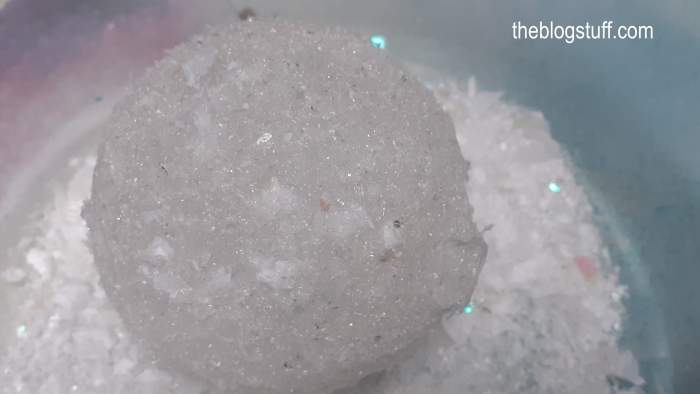
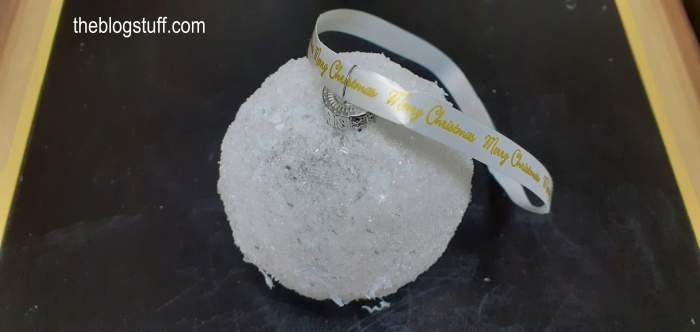
Baubles covered with Epsom salts look really pretty.
- Besides a clear bauble, you will need Epsom salts and Mod Podge.
- I have also added a handful of table salt and fake snow. I find that the Epsom salts adhere better to the glass if I mix it with table salt.
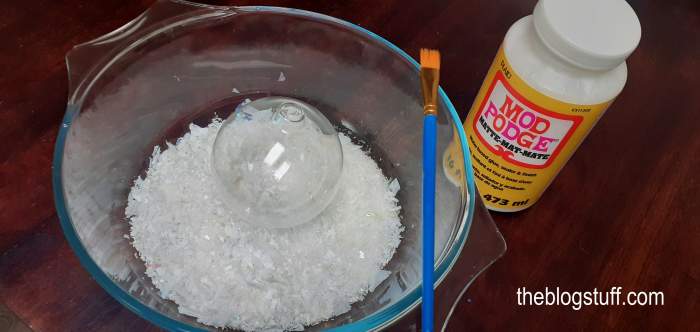
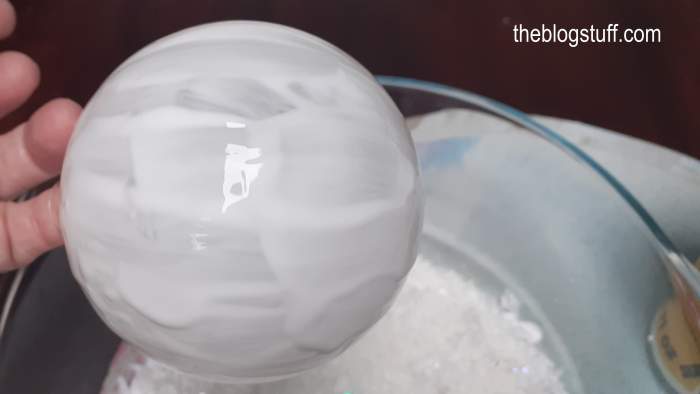
- Using a small paintbrush, cover the bauble completely with Mod Podge.
- Next, cover the ball with the salt mixture, lightly pressing with your hands to make sure it is completely covered.
- Put the bauble top back and tie a festive ribbon around it.
3. Pearl-encrusted Christmas Bauble
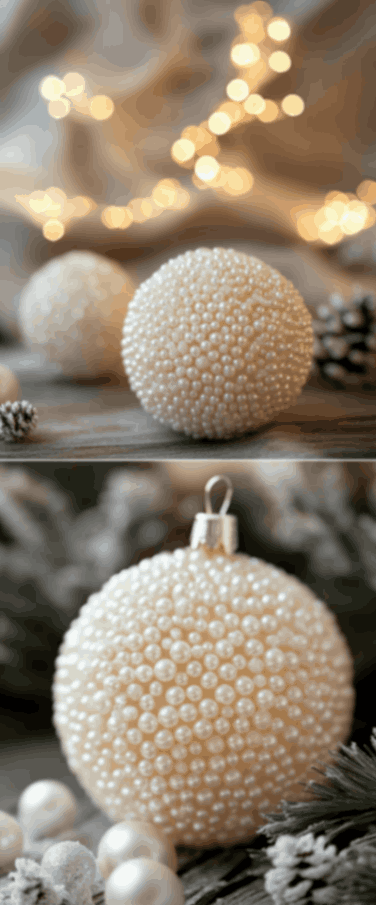
- Remove the top of the bauble to give yourself easier access for decorating.
- Apply adhesive or Mod Podge to a small section of the bauble (hot glue or craft glue works well). Start with a small area to prevent the glue from drying before you can attach the pearls.
- Place pearls onto the glue, starting from the top of the bauble and working your way down. Arrange the pearls closely together to avoid any gaps, pressing them gently into place.
- Continue applying glue and pearls in small sections, ensuring the entire surface of the bauble is covered. Work slowly and carefully to maintain an even and neat finish.
- Let the bauble dry completely, allowing the glue to set and secure the pearls in place.
- Reattach the bauble top and add a ribbon or hook for hanging.
Other way to do it:
- An easier way to do it is by placing the pearls in a deep bowl as I did with the Epsom salts.
- Apply adhesive all over the bauble with a brush.
- Immerse the bauble in the bowl until the bauble is totally covered with the pearls.
- Once the bauble is dry you can hang it from the tree.
4. Glitter-dotted Bauble
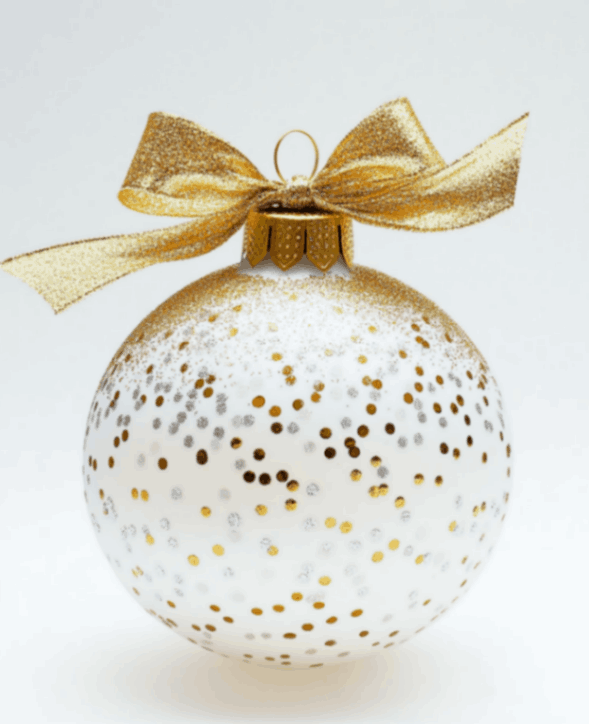
- Remove the top of the bauble to avoid getting any glue or glitter on it while decorating.
- Apply glue dots: Using a small brush or the tip of a glue bottle, apply tiny dots of glue all over the surface of the bauble. Vary the size of the dots for an interesting design. You can concentrate more dots toward the bottom for a cascading effect.
- Add glitter: While the glue is still wet, sprinkle gold and silver glitter onto the bauble. Hold the bauble over a sheet of paper to catch the excess glitter. Shake off the excess glitter after applying, and use the paper to easily return the leftover glitter to the container.
- Allow the bauble to dry: Let the glue and glitter set for a few hours or overnight until it’s completely dry.
- Reattach the top of the bauble once everything is dry.
- Add a gold ribbon: Tie a festive gold ribbon in a bow around the top of the bauble to give it an elegant finishing touch.
- Hang the bauble on your tree and admire your sparkling creation!
This glitter-dotted design adds a touch of sparkle and elegance to any Christmas tree and is perfect for creating a glamorous holiday look.
Christmas Crafts and Quotes You Can’t-Miss:
- decorating Mason jars for Christmas
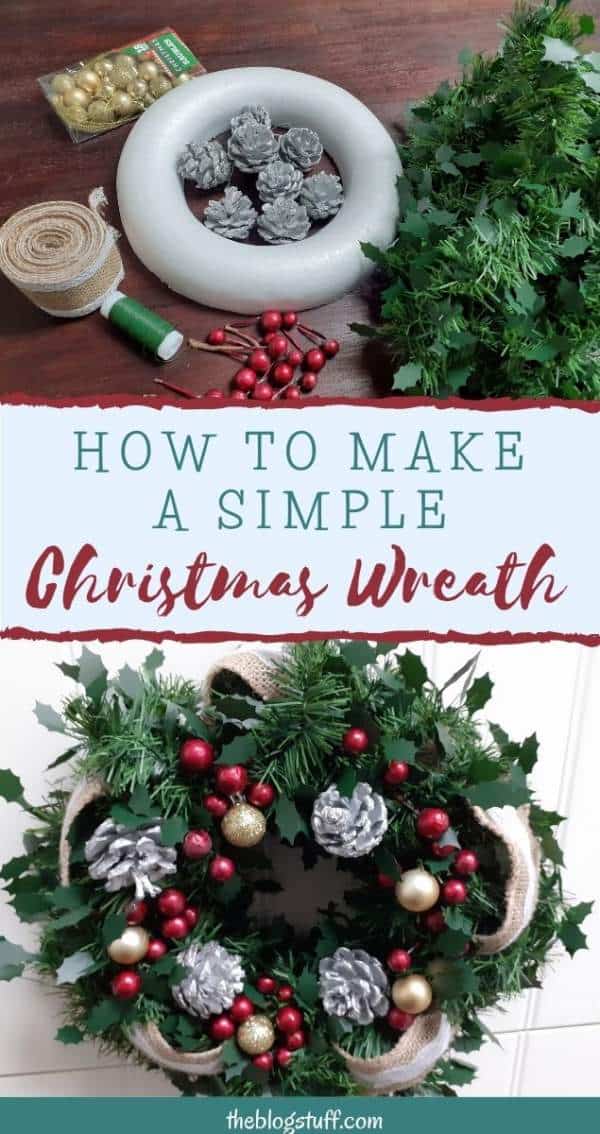
- easy DIY Christmas wreath
- DIY Christmas wreath with ribbon
- cute Christmas color palettes to inspire your decor
- funny Christmas quotes for your cards
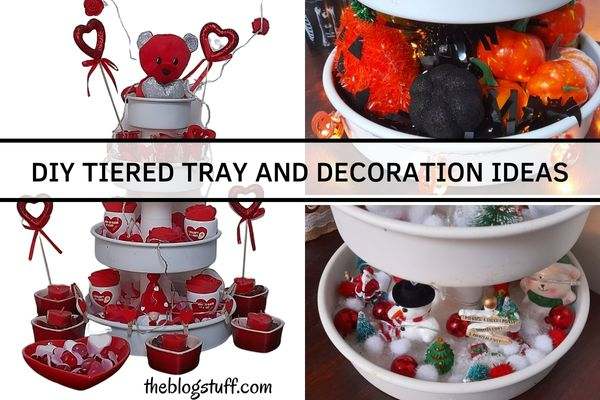
- seasonal decorating crafts ideas
Other Ideas To Fill Christmas Balls
If you are looking for other ways to fill clear Christmas baubles, have a look at the following decoration ideas:
- candy
- jelly beans
- peppermints
- fairy lights
- m and ms
- shredded paper
- balled-up tissue paper
- small stationary items
- small toys
- pictures
- beads
- names
- burlap
- miniature plants
- ribbons
- cinnamon sticks
- tinsel
Whichever method you choose to fill your clear Christmas baubles, the end result will be a personalized, beautiful ornament that you can be proud to hang on your tree or gift away!
