How to make a ribbon wreath (step-by-step tutorial with pictures).
Making a ribbon wreath is a creative and even festive way to decorate any doorway or wall.
In this case, I have made a Christmas ribbon wreath using holiday-themed ribbons but you can customize the wreath for any season (like this DIY summer wreath) or holiday of the year.
I wouldn’t say it is a difficult DIY decor project but it requires a little bit of time and care.
If you want to lower the cost buy the supplies from a thrift store or use leftover ribbons from other projects.
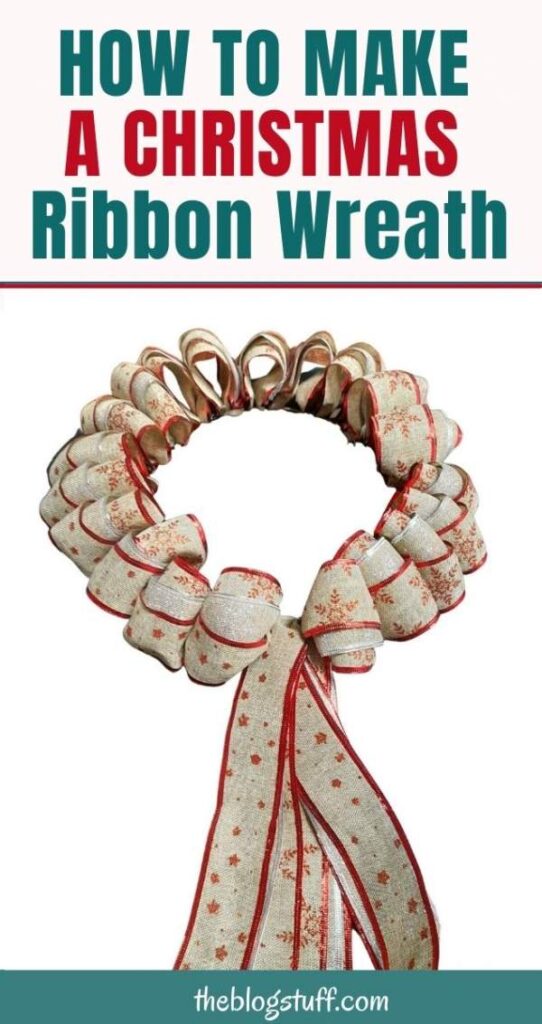
How To Make A Ribbon Wreath
This DIY ribbon wreath is very easy to do because it uses 3 ribbons at once. The fun part of this project is finding your preferred ribbon design and color scheme.
I was inspired to make this ribbon wreath by this video. He uses 4 ribbons but I decided to do it with 3 because the wire form I’m using is smaller.
Supplies you need
- a wreath wire form (I’m using a 12″ wireframe)
- 3 wired ribbons in various designs (2.5″ x 10m)
- zip ties
- scissors
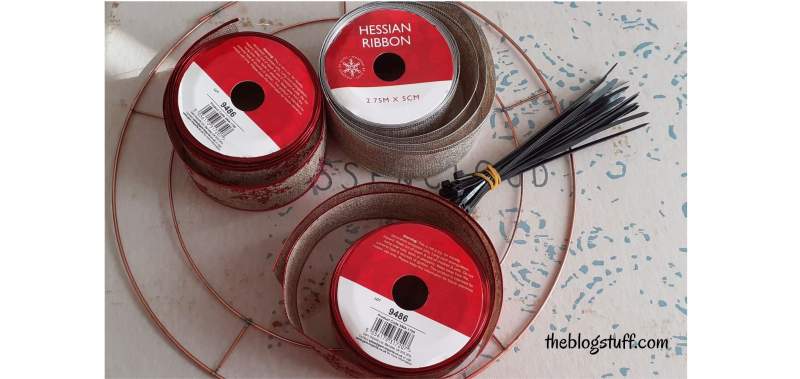
Directions on how to make a ribbon wreath
The first thing is to put together the ends of the 3 ribbons and roll them up until there is only one big loop reel. Before rolling the ribbons, be sure to place them facing the side you want to display.
1. Bring together the ends
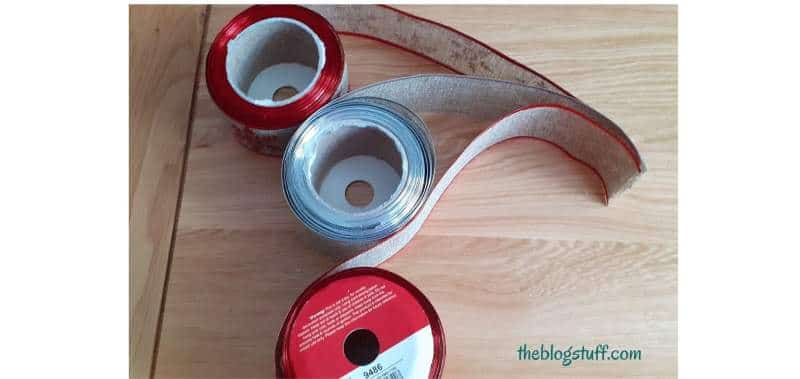
2. Keep rolling!
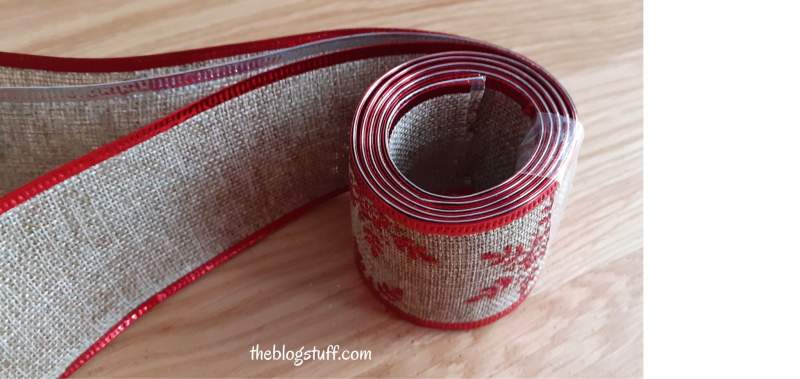
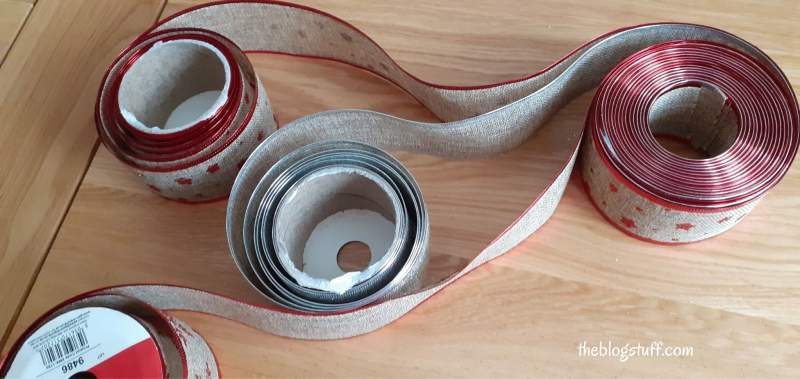
3. This is how it should look once you finish rolling the loops
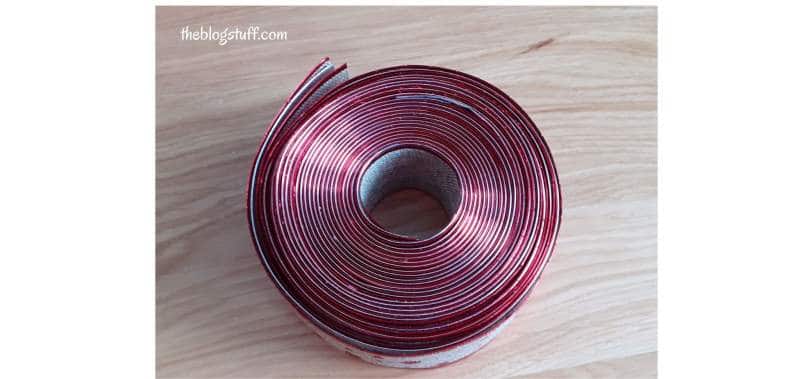
4. Now gather the ends of the ribbons and attach them to the wireframe using a zip tie. Make sure the sides of the ribbons are down like in the image below.
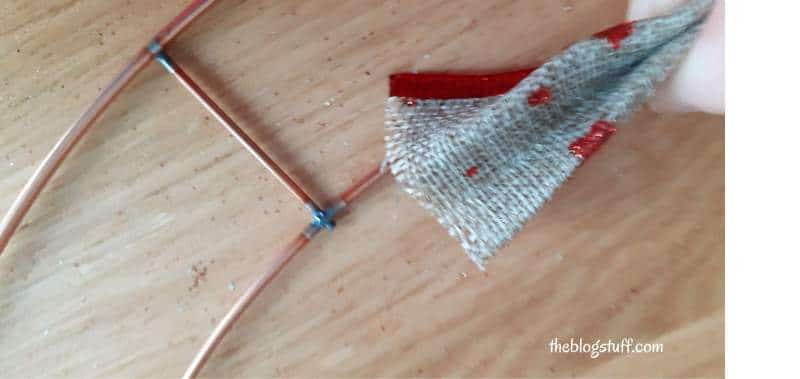
5. Use a zip tie to attach the ribbon to the wireframe. The wireframe I’m using has 2 wires so I’m attaching the ribbon to the inside wire.
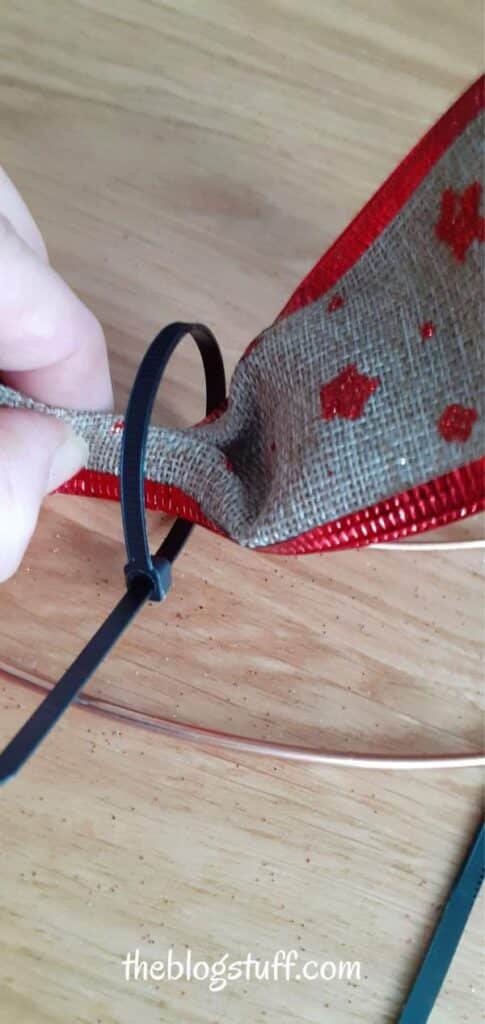
6. Using your hand, wrap the ribbon around to make a loop (like in the image below) and secure it again with a zip tie.
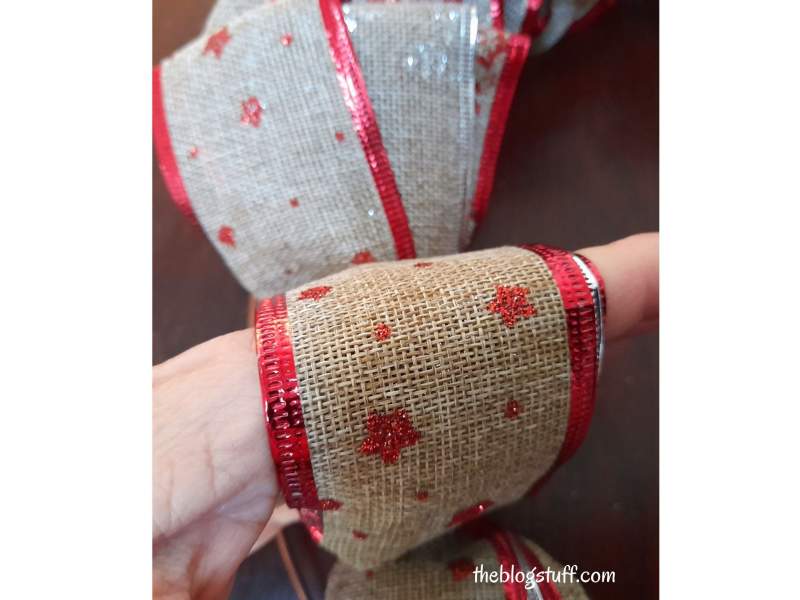
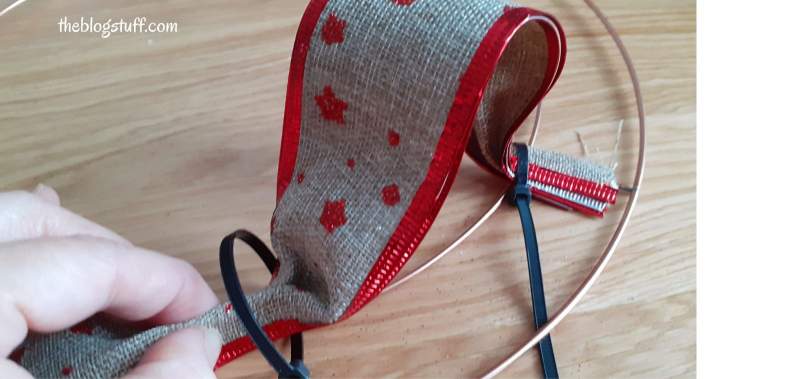
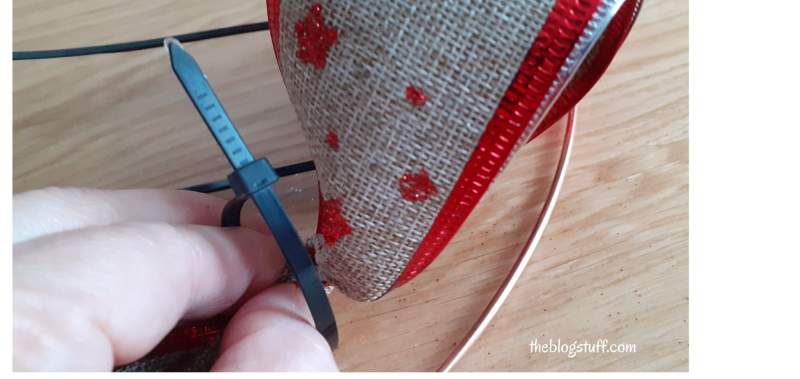
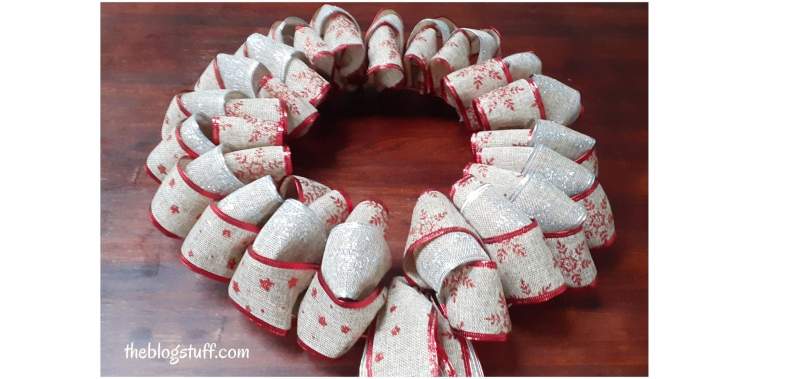
7. Keep doing this all around the wireframe until it is covered in loops.
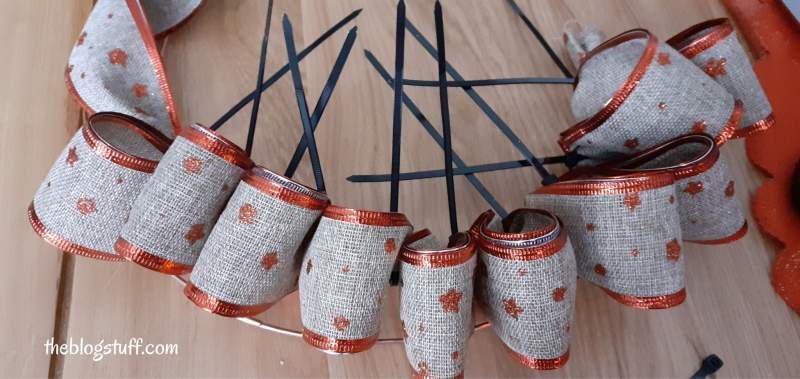
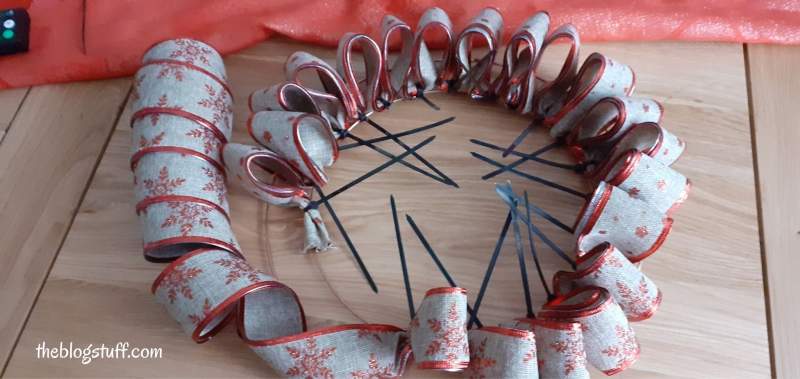
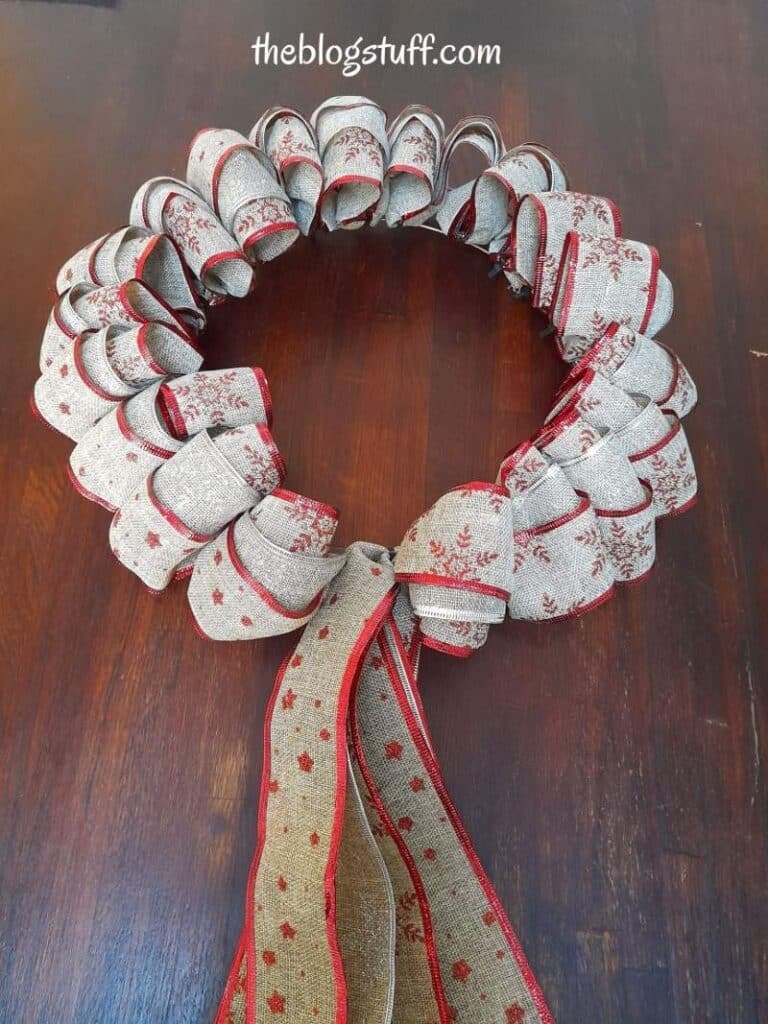
8. The remaining ribbon will form the wreath tail. Make a big loop and attach it to the wireframe with a zip tie.
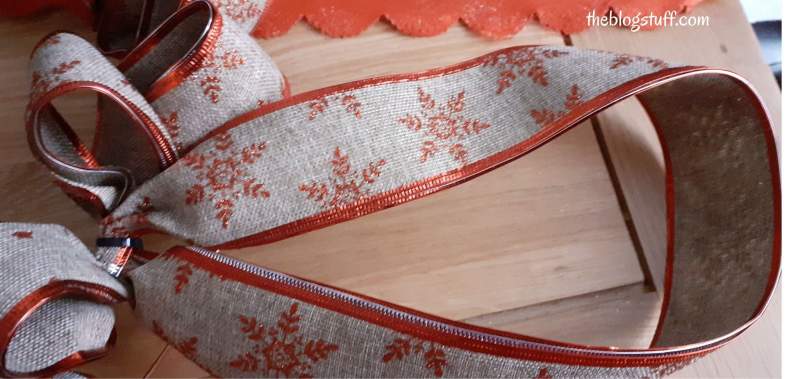

9. Cut the lop in the middle and then cut the ends diagonally.
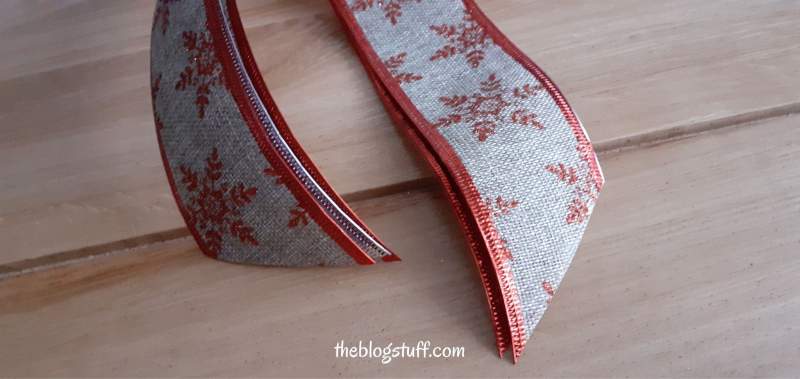
10. Once you finish, turn around the wreath, secure all the zip ties, and cut the long ends.
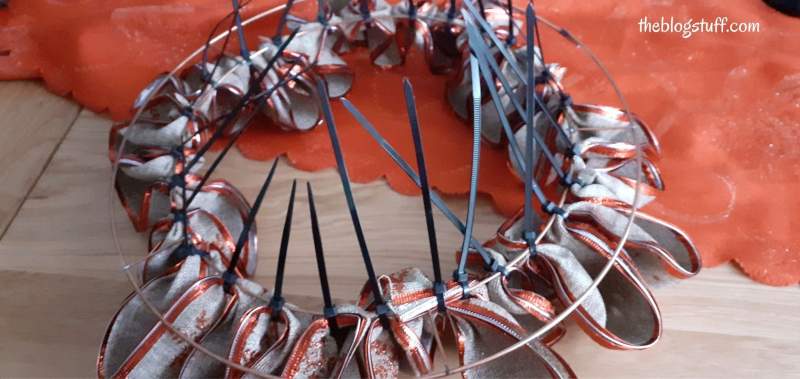
11. Now separate the ribbon loops like in the image below. Separate and arrange the tails the way you like them.
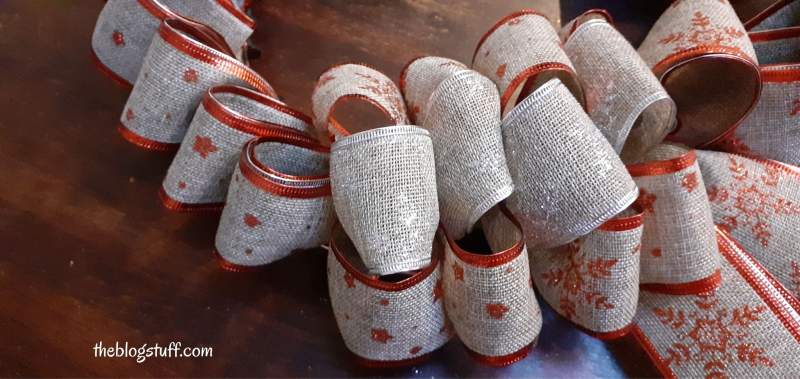
The DIY ribbon wreath is finished and ready to hang.

DIY Decor Crafts You Might Like:
- Fall Mason jar decor
- decorating Mason jars for Christmas
- how to decorate plastic plant pots
- DIY tiered tray
- DIY Mason jar sconce
- home decor crafts and ideas
Your Cozy Christmas Wreath is Ready to Shine
Making a ribbon wreath is a great way to make a decoration for the Christmas season and also a fun craft to do with the kids.
A simple yet beautiful way to make a Christmas gift for someone you love. You can use any colors or patterns that you think someone would enjoy.

