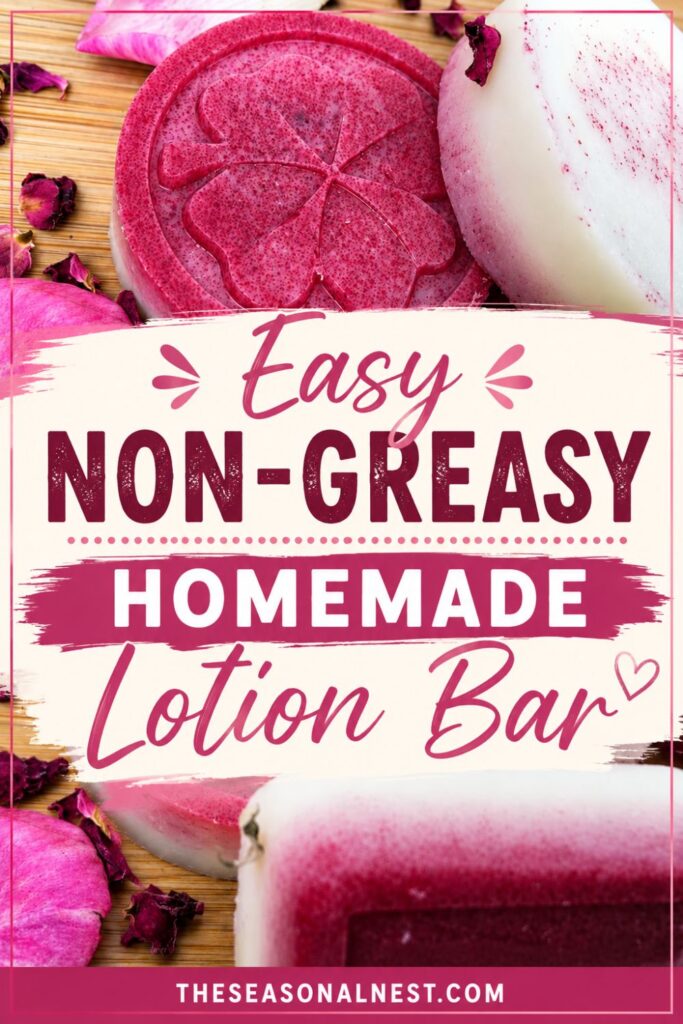
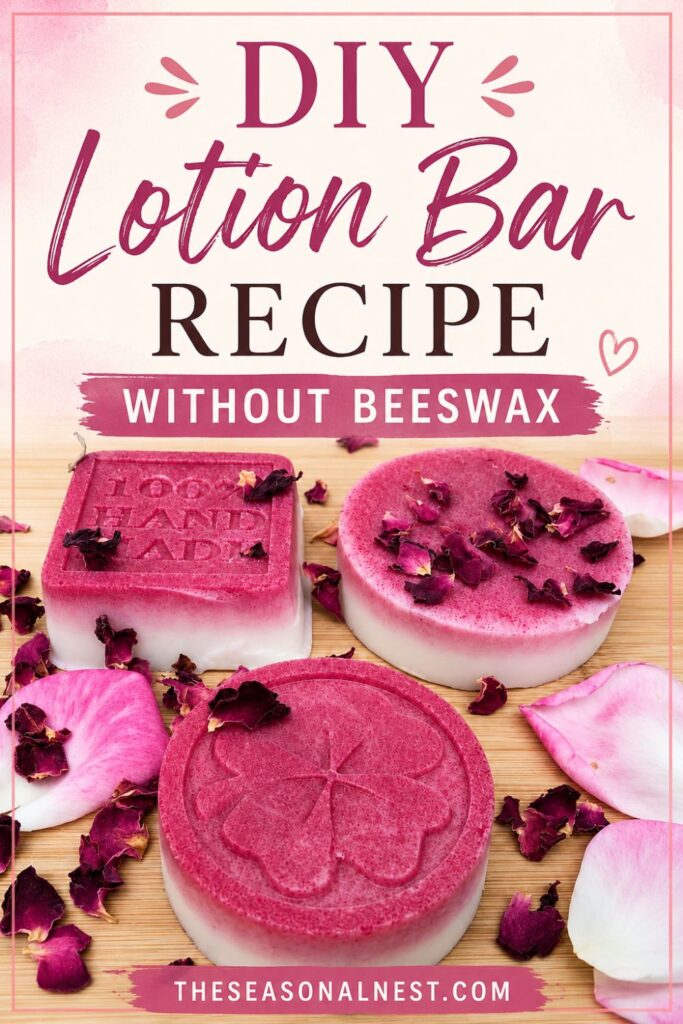
Easy Lotion Bar Recipe Without Beeswax
If you don’t like the greasy feel beeswax can leave on the skin, try these lotion bars…
If you don’t like the greasy feel beeswax can leave on the skin, try these lotion bars without beeswax instead.
I discovered lotion bars years ago after trying one from Lush and loved how quick and easy they were to use.
The only problem was the price, so I started making my own.
These homemade lotion bars are a simple way to moisturize dry skin without using body creams, and they can save you money, too.
This post contains affiliate links. In the event of a sale, I get rewarded a small commission, at no extra cost to you.
Lotion Bar Recipe Without Beeswax
I have made this recipe using dried rose and hibiscus flowers that have been macerated in sweet almond oil for 6 weeks.
I understand that most people won’t have this ingredient, so feel free to personalize the recipe with the ingredients you have at home.
For instance, you could use just sweet almond oil or any other infused oil if you have one.
Other oils you could use include jojoba, safflower, argan, avocado, or grapeseed.
If you really want to use herbal-infused oil, there is a quicker way to do it: using the heat-infused oil method.
To find out how to make it, click here.
Ingredients you need
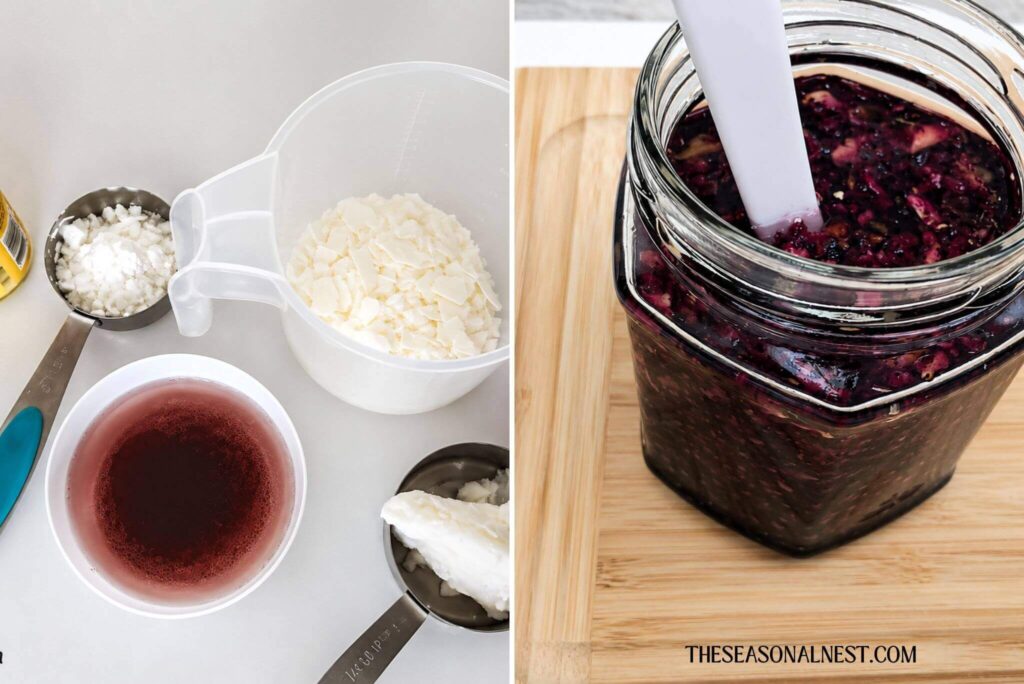
- 50 g dried rose and hibiscus flowers infused in sweet almond oil or just sweet almond oil.
- 30 g Shea butter (buy here)
- 60 g cosmetic-grade SOY wax, like this one
- 20 g cornstarch
- 1 teaspoon vitamin E oil
- cosmetic grade pink colorant (optional) Need colorant? Check this one
These ingredients are enough to fill 3 silicon molds like these.
How to make it
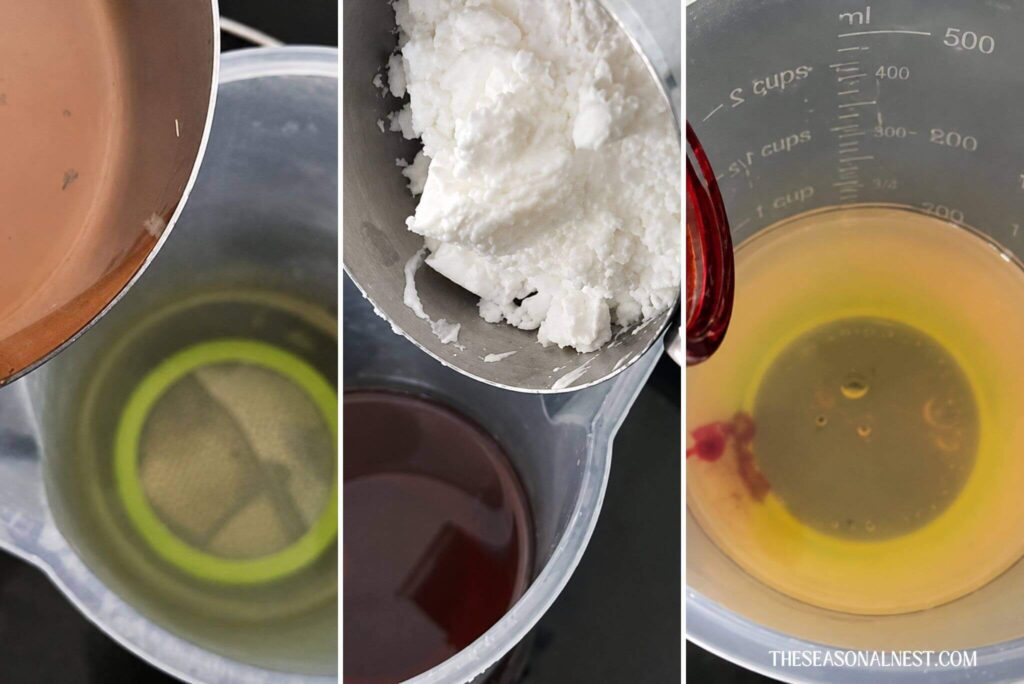
Put the soy wax in a container and place it in another container with water.
Simmer until the wax has melted, and then add rose-hibiscus-infused oil or one of your choice.
Also, add vitamin E oil to help protect the oils from rancidity. Stir.
I have added cornstarch to make the lotion bars less greasy.
Make sure it has dissolved properly before adding the next ingredient.
Now add the colorant if you are using one.
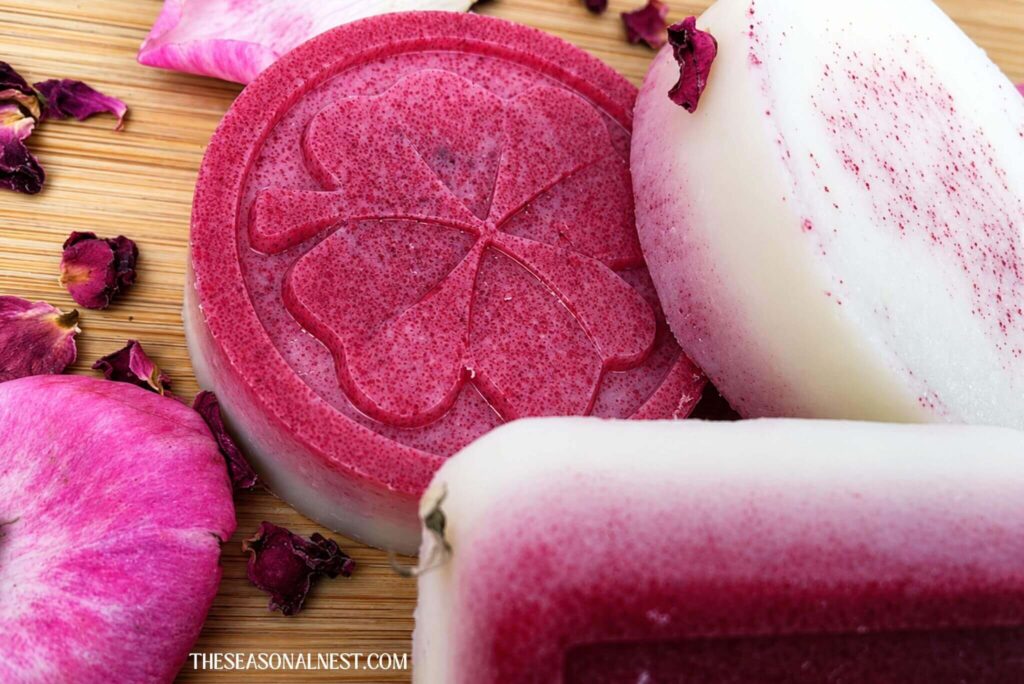
On this occasion, I used a pink food colourant, which is considered safe for the skin.
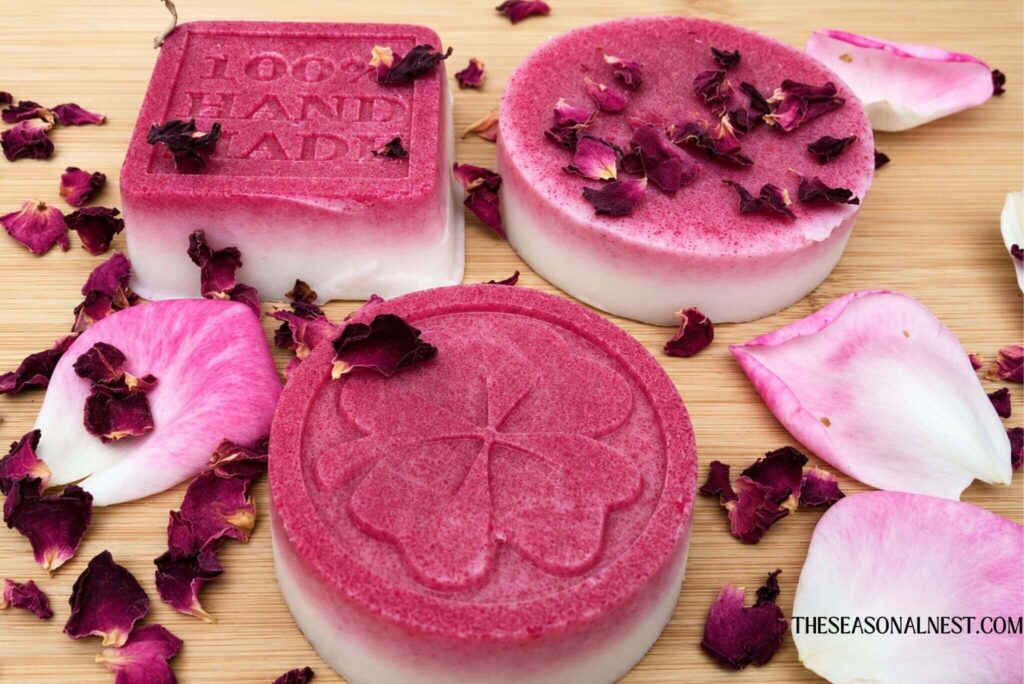
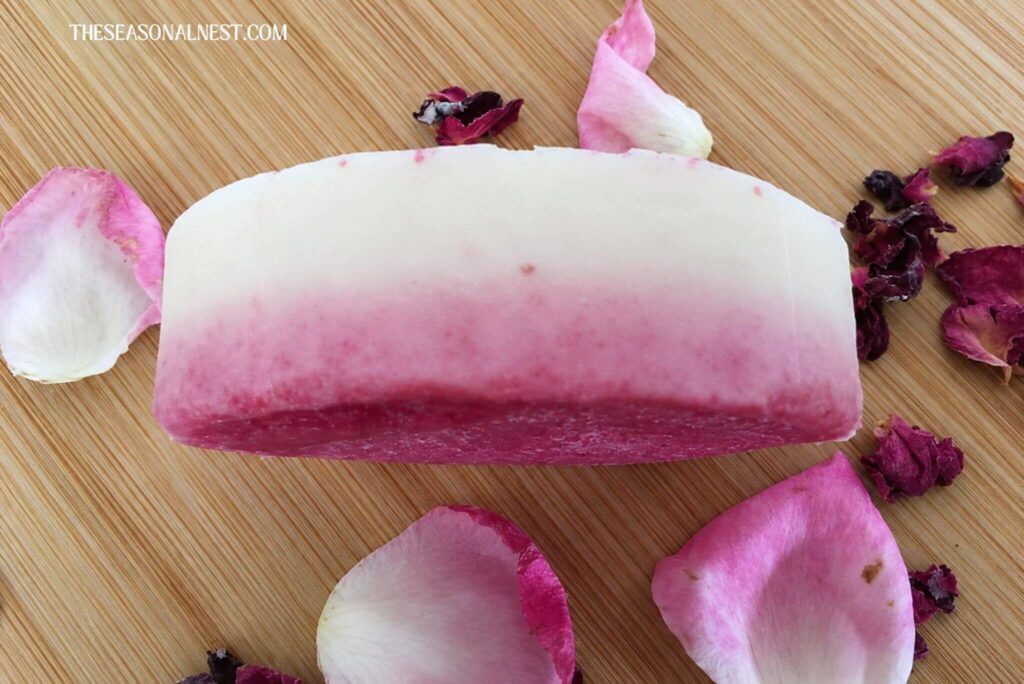
What I found when using food colorant is that it does not disperse well, and it concentrates at the bottom of the mold.
This is why the rose lotion bars ended up with two tones.
But I like them.
They look cute!
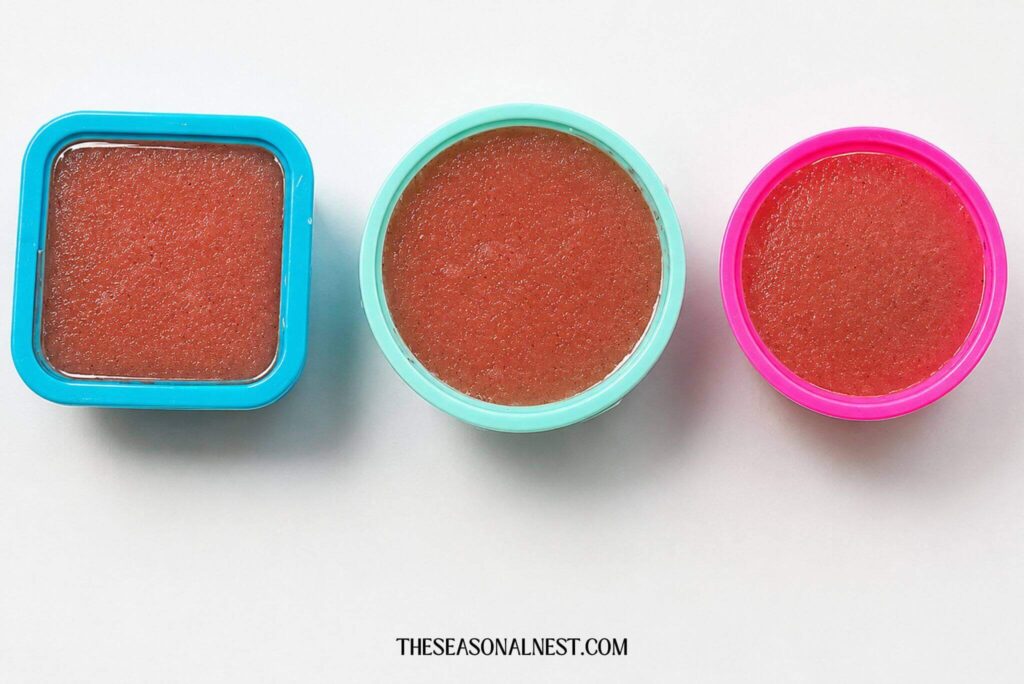
Transfer to silicon molds and wait for them to harden.
To speed up this process, place the molds in the freezer for about 15 minutes.
Once you unmold the lotion bars, they are ready to use.
On The Seasonal Nest: 50 Easy-to-Make Skin Care and Beauty Recipes
A Few Notes About These Lotion Bars
Sometimes the lotion bars can harden due to several reasons: the weather, the ingredients used, or how you store them.
If the bars are too harsh for the skin, try to soften them with the palm of your hand or by placing them for a few seconds in the microwave.
If the opposite occurs and the bars become too soft, placing them in the fridge will solve that problem.
I find the best time to use the lotion bars is after a shower when the skin is still moist, because it spreads more easily.
To store them, keep them in a dry container with a lid and away from sunlight.
I like to keep mine wrapped in tissue paper inside clear glass or aluminum tins.
I’m not sure how long they will last because I never have them for too long, but overall, I have read they can last for 12 to 18 months approx.
Plant Therapy blog recommends going with the ingredient with the shortest shelf life to calculate the expiry date.